Welcome to this delightful journey of creating homemade Easy Chocolate Malt Ice Cream Recipe. If you’re a fan of rich, creamy desserts with a nostalgic twist, this recipe is for you. Using the Ninja Creami, you’ll learn how to craft a velvety, chocolatey treat that combines classic malt flavor with smooth ice cream. Perfect for family gatherings, cozy nights, or simply treating yourself, this easy recipe transforms a few simple ingredients into a dessert that rivals any ice cream shop! Let’s dive in and whip up a batch of chocolate malt magic.
Recipe Summary
- Servings: 2-4
- Prep Time: 10 minutes (plus freezing time)
- Cook Time: None (churned in Ninja Creami)
- Calories: Approximately 220-250 per serving
Introduction
Indulging in a creamy scoop of chocolate malt ice cream Recipe feels like a nostalgic trip to the past, where malted milkshakes and rich ice cream ruled the dessert menus. The beauty of making this classic dessert at home with the Ninja Creami is that it’s simple, quick, and yields professional results! With just a few ingredients, you can create a decadent chocolate malt ice cream that tastes just like your favorite malt shop’s version—perfect for any time of the year.
History and Origin of Easy Chocolate Malt Ice Cream Recipe
Chocolate malt ice cream has roots in the early 20th century when malted milk became popular in American soda fountains. Malted milk, developed by James Horlick in the late 1800s as a dietary supplement, soon transformed into a popular milkshake and ice cream flavor. Combining chocolate and malt was a natural progression, given chocolate’s universal appeal. This classic flavor pairing gained immense popularity through ice cream parlors and diners, capturing the essence of creamy, smooth, and slightly nutty flavors. Today, it remains a nostalgic treat that brings a taste of the past to the present.
Ingredients Required
Below I have listed the exact Ingredients needed to prepare the Easy Chocolate Malt Ice Cream Recipe :
- 1 cup whole milk: Provides the creamy base for the ice cream.
- 1 cup heavy cream: Essential for a smooth, rich texture.
- 3 tablespoons chocolate malted milk powder: For that signature malty flavor.
- 1/2 cup granulated sugar: Sweetens the ice cream to balance the malt.
- 2 tablespoons unsweetened cocoa powder: Adds rich chocolatey goodness.
- Pinch of salt: Enhances the flavors and balances sweetness.
Equipment You’ll Need
Below I have listed the exact Equipment needed to prepare the Easy Chocolate Malt Ice Cream Recipe :
- Ninja Creami machine: This tool is key for creating a smooth, creamy texture.
- Freezer-safe container: For freezing your ice cream base before churning.
- Measuring cups and spoons: To accurately measure ingredients.
- Whisk: For blending ingredients smoothly.
Preparation Steps
Step 1: Prepare the Ice Cream Base
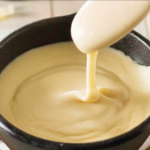
- In a large mixing bowl, combine whole milk, heavy cream, and granulated sugar.
- Whisk until the sugar is completely dissolved.
- Add the chocolate malted milk powder and cocoa powder, mixing until fully incorporated and smooth.
- Add a small pinch of salt to enhance the flavors.
Step 2: Chill and Freeze
- Pour the mixture into a freezer-safe container, ensuring it fits the Ninja Creami bowl.
- Freeze for at least 24 hours to ensure the base is solid enough for the Ninja Creami to churn.
Step 3: Churn in the Ninja Creami
- After 24 hours, remove the frozen base from the freezer.
- Place the bowl into the Ninja Creami and select the “Ice Cream” setting.
- Let the machine churn until the ice cream reaches a smooth, creamy consistency. If it appears crumbly, select the “Re-spin” option.
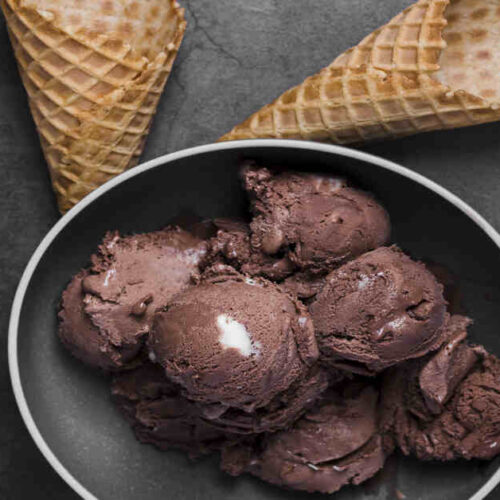
Step 4: Serve and Enjoy
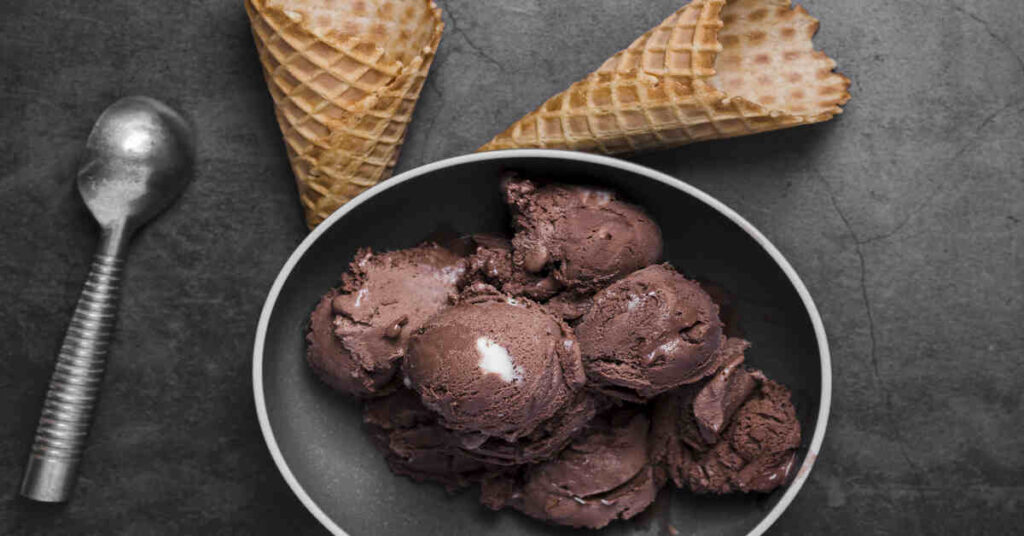
- Scoop out your chocolate malt ice cream and serve in bowls or cones.
- Top with extra chocolate malt powder or chocolate shavings for a finishing touch!
Cooking Time and Calories
- Preparation time: 10 minutes
- Freeze time: 24 hours
- Calories: Approximately 220-250 calories per serving, depending on portion size and exact ingredients used.
Serving Suggestions
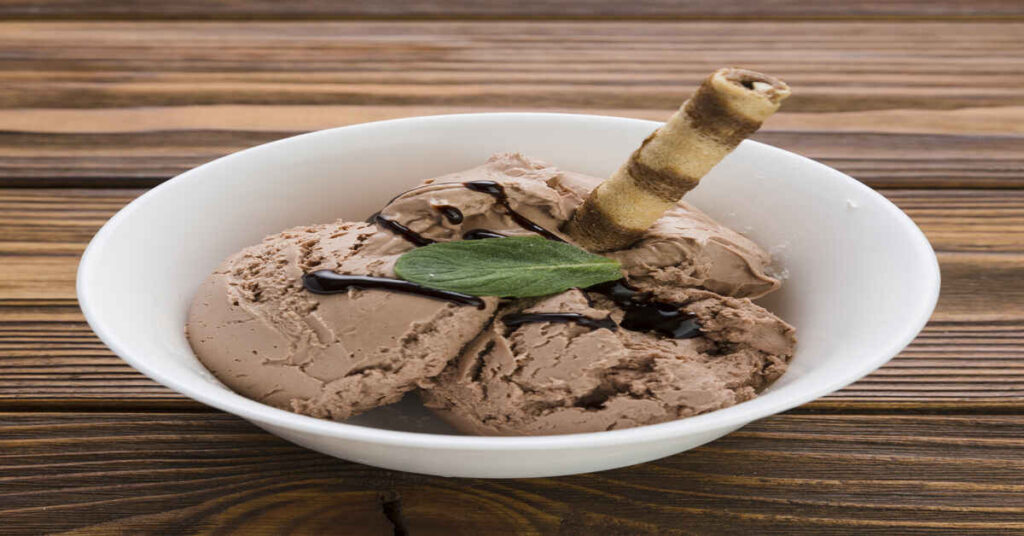
Chocolate malt ice cream is versatile, and its creamy texture pairs well with various toppings and accompaniments:
- Classic toppings: Whipped cream, chocolate chips, or sprinkles.
- Crunchy add-ins: Chopped nuts like almonds or hazelnuts for extra texture.
- Extra malt flavor: A light dusting of chocolate malt powder on top.
- Warm treats: Pair with a warm brownie or chocolate chip cookie for a delicious contrast.
Storage Tips
- Storage: Store any leftover ice cream in the same Ninja Creami-compatible container, cover it tightly with a lid or plastic wrap.
- Shelf life: This homemade ice cream stays fresh for up to 1 week in the freezer. For best quality, enjoy it within 3 days.
- Refreezing: If the ice cream hardens too much after a few days, simply place it back in the Ninja Creami and re-spin for a creamy texture.
Variations and Customizations
Want to personalize your chocolate malt ice cream? Here are a few ideas:
- Mint-Chocolate Malt: Add a few drops of peppermint extract to create a refreshing twist.
- Peanut Butter Chocolate Malt: Swirl in a tablespoon of peanut butter before churning for a peanut butter cup flavor.
- Marble Effect: Gently fold in chocolate syrup after churning for a beautiful marbled look.
- Espresso Chocolate Malt: Add a teaspoon of espresso powder to the mixture for a coffee-infused version.
- Low-Sugar Version: Substitute a sugar-free sweetener if you’re looking for a lighter option.
Why Make It at Home?
Creating chocolate malt ice cream at home has its own charm. You control the ingredients, so you can adjust sugar levels, use organic dairy, or try dairy-free alternatives. Plus, there’s the freshness factor: homemade ice cream tastes cleaner, with no additives or artificial flavors. The satisfaction of enjoying ice cream you made from scratch makes it even more special!
Health Benefits
Although chocolate malt ice cream is an indulgence, it offers some surprising benefits:
- Calcium and Vitamin D: Dairy-based ice creams are a good source of calcium and vitamin D, which are essential for bone health.
- Protein: Milk and cream provide a small amount of protein.
- Mood boost: The chocolate provides antioxidants, and the simple act of enjoying a scoop can lift your spirits.
For a lighter version, consider using lower-fat milk or substituting dairy-free options like almond milk and coconut cream to reduce calorie and fat content.
Wrapping Up
Making chocolate malt ice cream with the Ninja Creami offers the perfect blend of convenience and creativity. This easy recipe brings all the rich flavors of a classic malted milkshake into a smooth, scoopable form. Perfect for treating yourself, sharing with friends, or surprising family with a unique homemade dessert, this recipe is one you’ll come back to time and time again. So, gather your ingredients, set aside a bit of freezer space, and get ready to enjoy a taste of nostalgia with every scoop.
Easy Chocolate Malt Ice Cream Recipe
Equipment
- Ninja Creami machine
- Freezer-safe container
- Measuring cups and spoon
- Whisk
Ingredients
1 cup whole milk: Provides the creamy base for the ice cream.
1 cup heavy cream: Essential for a smooth, rich texture.
3 tablespoons chocolate malted milk powder: For that signature malty flavor.
1/2 cup granulated sugar: Sweetens the ice cream to balance the malt.
2 tablespoons unsweetened cocoa powder: Adds rich chocolatey goodness.
Pinch of salt: Enhances the flavors and balances sweetness.
Instructions
Step 1: Prepare the Ice Cream Base
- In a large mixing bowl, combine whole milk, heavy cream, and granulated sugar.
- Whisk until the sugar is completely dissolved.
- Add the chocolate malted milk powder and cocoa powder, mixing until fully incorporated and smooth.
- Add a small pinch of salt to enhance the flavors.
Step 2: Chill and Freeze
- Pour the mixture into a freezer-safe container, ensuring it fits the Ninja Creami bowl.
- Freeze for at least 24 hours to ensure the base is solid enough for the Ninja Creami to churn.
Step 3: Churn in the Ninja Creami
- After 24 hours, remove the frozen base from the freezer.
- Place the bowl into the Ninja Creami and select the “Ice Cream” setting.
- Let the machine churn until the ice cream reaches a smooth, creamy consistency. If it appears crumbly, select the “Re-spin” option.
Step 4: Serve and Enjoy
- Scoop out your chocolate malt ice cream and serve in bowls or cones.
- Top with extra chocolate malt powder or chocolate shavings for a finishing touch!
Some Other Recipes You’ll Love
- Fried Apples Recipe
- Golden Corral Chocolate Chess Pie Recipe
- Texas Roadhouse Mashed Potatoes Recipe
- Chow Chow Recipe
Frequently Asked Questions (FAQs)
1. Can I use a different milk instead of whole milk?
- Yes, you can use 2% milk, almond milk, or coconut milk as substitutes. However, this may slightly alter the creaminess and texture.
2. How long does it take to freeze the mixture before churning?
- Freezing for at least 24 hours ensures the mixture is fully solidified and ready for the Ninja Creami.
3. What if my ice cream turns out too crumbly in texture?
- Use the “Re-spin” function on the Ninja Creami. This should smooth out the texture to make it creamier.
4. Can I add chocolate chips or other mix-ins?
- Absolutely! Add chocolate chips, crushed cookies, or chopped nuts after the first spin for a delicious texture variation.
5. Is there a way to make this recipe dairy-free?
- Yes, swap whole milk with almond milk and heavy cream with coconut cream to make a dairy-free version. Adjust the sweetness as desired.