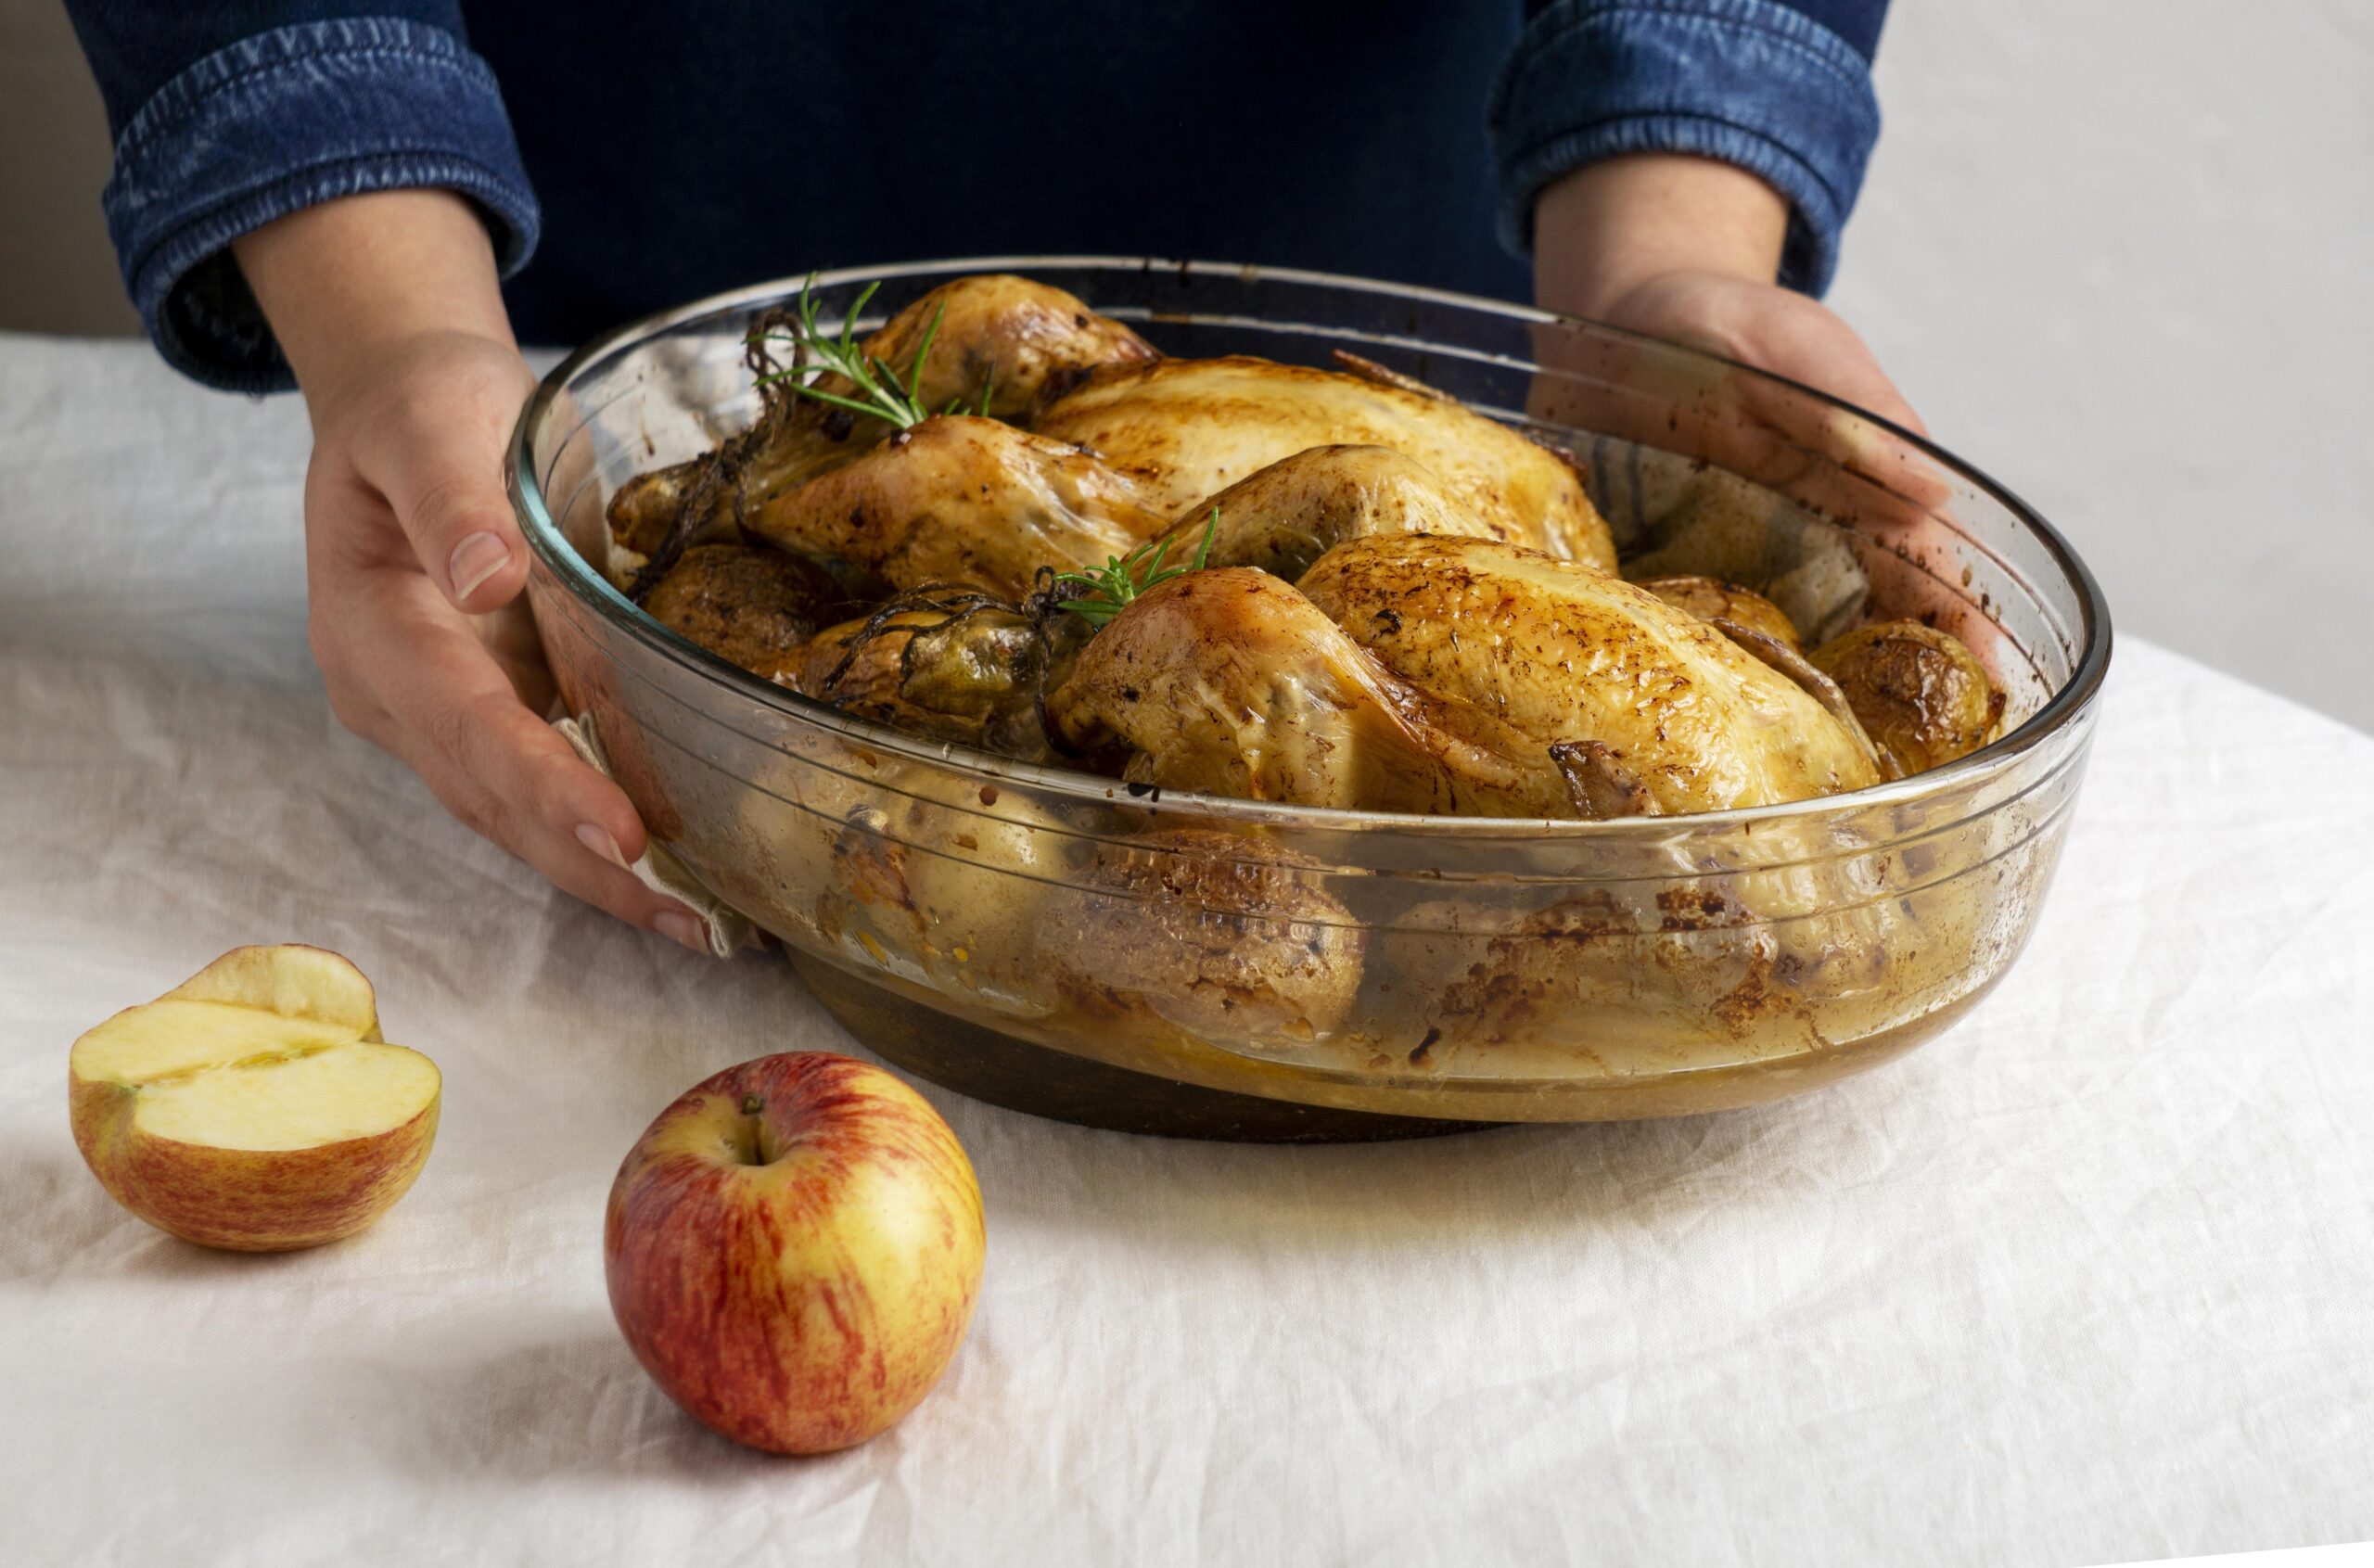
Brining chicken is one of the best-kept secrets for ensuring that your poultry stays juicy, tender, and full of flavor. Whether you’re preparing a whole roasted chicken, grilling up wings, or making fried chicken, brining can take your dish from ordinary to extraordinary. If you’ve ever wondered why restaurant chicken tastes so succulent, the answer often lies in the brine. So, what’s the secret to a good chicken brine recipe? Let’s dive into the details.

What is Brining, and Why is it Important for Chicken?
Before we get into the recipe itself, it’s essential to understand the process of brining. In its simplest form, brining is soaking meat in a solution of salt and water. This process allows the meat to absorb the moisture and seasoning, leading to a juicier and more flavorful dish. The salt changes the structure of the muscle fibers, making it more tender and allowing the chicken to retain its moisture during cooking.
The Science Behind Chicken Brining
When you brine chicken, the salt and water solution does more than just add flavor—it alters the protein structure of the meat. This allows it to hold onto more moisture during cooking, preventing that dreaded dryness. Additionally, other flavorings and aromatics added to the brine are absorbed, enhancing the taste of the chicken inside and out.
Basic Ingredients for a Chicken Brine
To get started with a simple chicken brine, you’ll need only a few basic ingredients:
Ingredients:
- 1 gallon of water
- 3/4 cup kosher salt (or 1/2 cup table salt)
- 1/2 cup sugar (optional, but adds a subtle sweetness)
- Optional aromatics (herbs, spices, garlic, etc.)
With these basics, you can create a brine that keeps your chicken moist and delicious. From here, you can modify and enhance the recipe to match the flavor profile you’re going for.

Step-by-Step Chicken Brine Recipe
Step 1: Prepare the Brine Solution
Begin by mixing the water, salt, and sugar (if using) in a large pot. Heat the mixture over medium heat until the salt and sugar are completely dissolved. This ensures that the brine evenly penetrates the chicken.
Step 2: Add Aromatics
This is where you can get creative. For extra flavor, toss in aromatics like garlic cloves, peppercorns, bay leaves, rosemary, thyme, or lemon slices. You can also experiment with spices such as cumin or paprika, depending on the flavor profile you want to achieve.
Step 3: Cool the Brine
Before adding your chicken to the brine, make sure the solution is completely cool. You don’t want to start cooking the chicken prematurely. You can either refrigerate the brine or add ice cubes to speed up the cooling process.
Step 4: Submerge the Chicken
Once the brine is cool, place the chicken into the pot, ensuring it is fully submerged. If needed, use a plate or weight to keep the chicken under the liquid.
Step 5: Brine for the Appropriate Time
The length of time your chicken should stay in the brine depends on its size. Here’s a general guide:
- Whole chicken: 8-12 hours (or overnight)
- Chicken pieces (breasts, thighs, wings): 1-3 hours
- Boneless, skinless breasts: 30 minutes to 1 hour
Over-brining can make the chicken too salty, so be careful not to exceed these times.
Step 6: Rinse and Pat Dry
After brining, remove the chicken and give it a quick rinse to remove excess salt from the surface. Pat it dry with paper towels, ensuring the skin is moisture-free if you’re aiming for crispy skin when roasting or grilling.
Step 7: Cook Your Chicken
Now that your chicken is brined and prepped, you can cook it using your favorite method, whether that’s roasting, grilling, frying, or baking. The brine will have done its magic, ensuring that the meat remains juicy and flavorful.
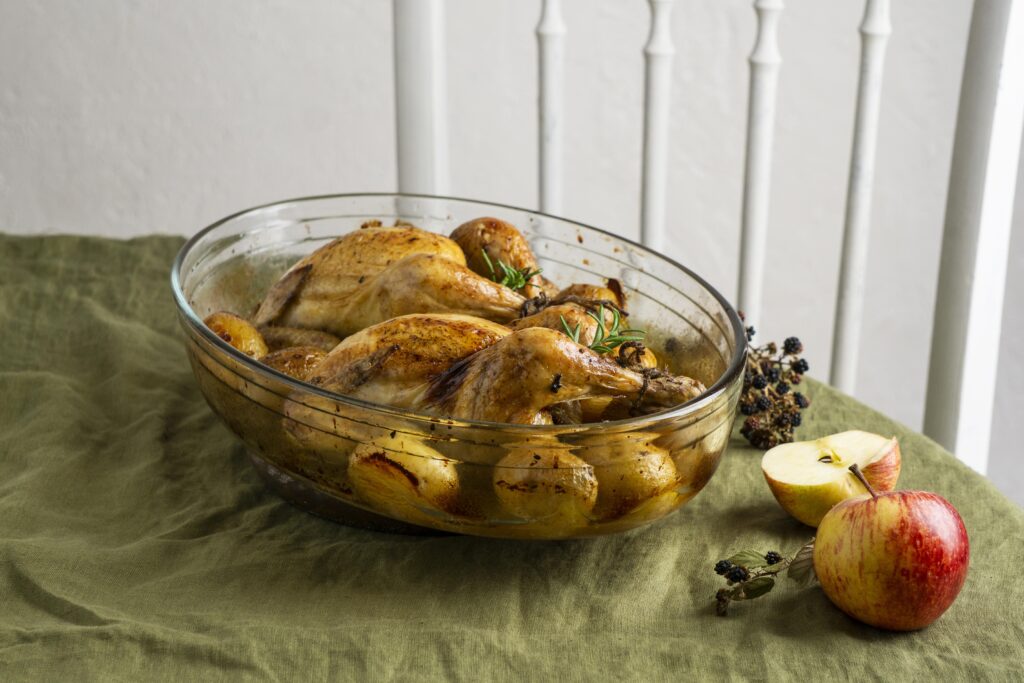
Enhancing Your Chicken Brine with Flavorful Variations
Now that you know the basics of making a chicken brine, you can experiment with different ingredients to match your dish’s flavor profile. Here are a few variations:
Citrus Brine
For a fresh and zesty flavor, try a citrus brine. Add slices of oranges, lemons, and limes along with some crushed garlic and rosemary. This is perfect for grilled chicken, as the citrus notes will brighten the overall taste.
Herb and Garlic Brine
If you’re looking for a more savory profile, a herb and garlic brine is ideal. Add whole garlic cloves, fresh thyme, rosemary, and bay leaves to your brine. This works wonderfully for roasted chicken, infusing it with deep, earthy flavors.
Spicy Brine
For those who like a little heat, consider adding chili flakes, black peppercorns, and even a touch of cayenne pepper. This gives your chicken a subtle kick that complements smoky barbecue sauces or hot sauces.
Tips for a Successful Chicken Brine
- Don’t over-salt: Using the correct ratio of salt to water is critical. Too much salt will make the chicken unbearably salty, so stick to the recipe unless you’re a brining expert.
- Watch your time: Don’t leave the chicken in the brine for too long, as over-brining can make the meat overly salty and too soft.
- Use fresh herbs: Fresh herbs pack a more potent flavor punch compared to dried herbs, so use them when possible.
- Let it rest: After brining and before cooking, let the chicken rest for about 30 minutes. This helps the brine to evenly distribute and absorb fully into the meat.
Common Mistakes to Avoid When Brining Chicken Brine Recipe
1. Not Dissolving the Salt
If the salt isn’t fully dissolved, it won’t penetrate the chicken evenly, leading to inconsistent flavor. Always heat the water to dissolve the salt and sugar thoroughly before cooling it.
2. Brining for Too Long
More is not always better. Leaving chicken in the brine for too long can result in overly salty meat or a mushy texture. Stick to the recommended times.
3. Using Table Salt Instead of Kosher Salt
Kosher salt is typically preferred in brines because of its larger grains, which dissolve more slowly. If you use table salt, be sure to adjust the quantity to avoid oversalting.
4. Brining in a Metal Container
Acidic ingredients (like citrus) can react with metal containers, potentially imparting a metallic taste to the chicken. Always use glass, plastic, or a food-safe bag for brining.
Conclusion: Elevate Your Chicken with the Perfect Brine
Brining is a simple but transformative technique that takes your chicken from bland and dry to flavorful and moist. By following this step-by-step guide, you’ll be able to customize your chicken brine recipe to suit any occasion, ensuring that every bite is juicy and packed with flavor. So next time you prepare chicken, don’t skip the brine—you won’t regret it!
FAQs
1. Can I reuse brine?
No, it’s not safe to reuse brine since raw chicken has been sitting in it. Always discard the brine after use.
2. What types of salt should I use for brining?
Kosher salt is the most commonly used, but sea salt can work as well. Just adjust the amount if using table salt, as it’s denser.
3. Can I brine frozen chicken?
Yes, but it will take longer for the brine to penetrate frozen chicken. It’s best to thaw the chicken first for optimal results.
4. Does sugar always have to be included in the brine?
No, sugar is optional. It adds a subtle sweetness and helps with browning, but the brine will still be effective without it.
5. Can I brine chicken for frying?
Absolutely! Brining is excellent for fried chicken, as it ensures the meat remains juicy and tender even after being cooked in hot oil.
